Tuesday, February 18, 2014

Love for Lentils

Lovely, Lovely Lentils...

There are so many reasons to love this mighty (tiny) bean!   Just wait until you read all the health benefits I posted at the bottom; you will be amazed.  And once you try this recipe you will be sold!  It is a great choice for cooking for a family, not only because it is so tasty, and for all of its amazing health benefits, it is also super easy to cook.  Unlike most other beans there is no need to soak the lentils over night, you can just put the dried beans directly into some boiling water and eat them once they are softened.

My version of lentil soup takes inspiration from traditional Italian lentil soup and Indian Daal.  I love this recipe because it is so satisfying and comforting, and also my daughter and husband gobble it up.


Fun fact...
Did you know lentils are also believed to bring prosperity and luck?  A popular New Year's meal in Italy is Cotechino con Lenticchie (green lentils with sausage). This tradition which got it's start centuries ago is thought to bring good fortune for the coming year.  If you are at all superstitious like me, it's just another reason to love lentils.
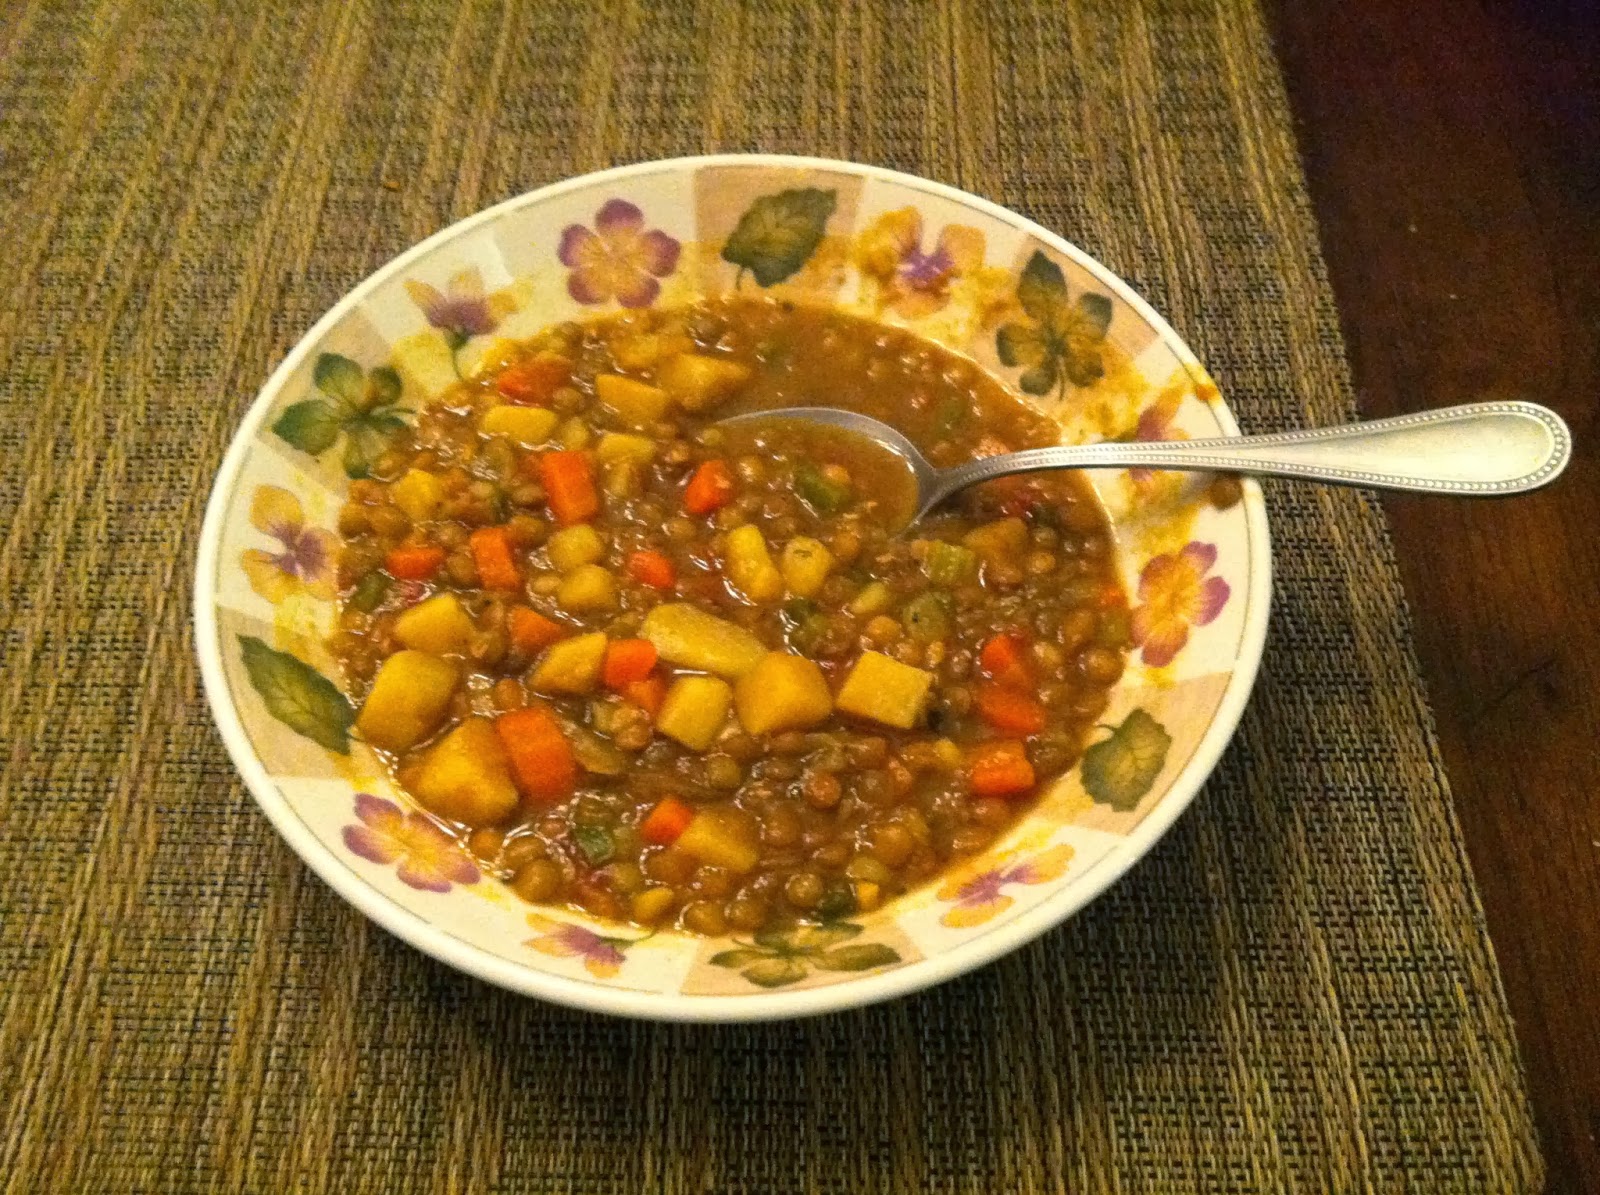


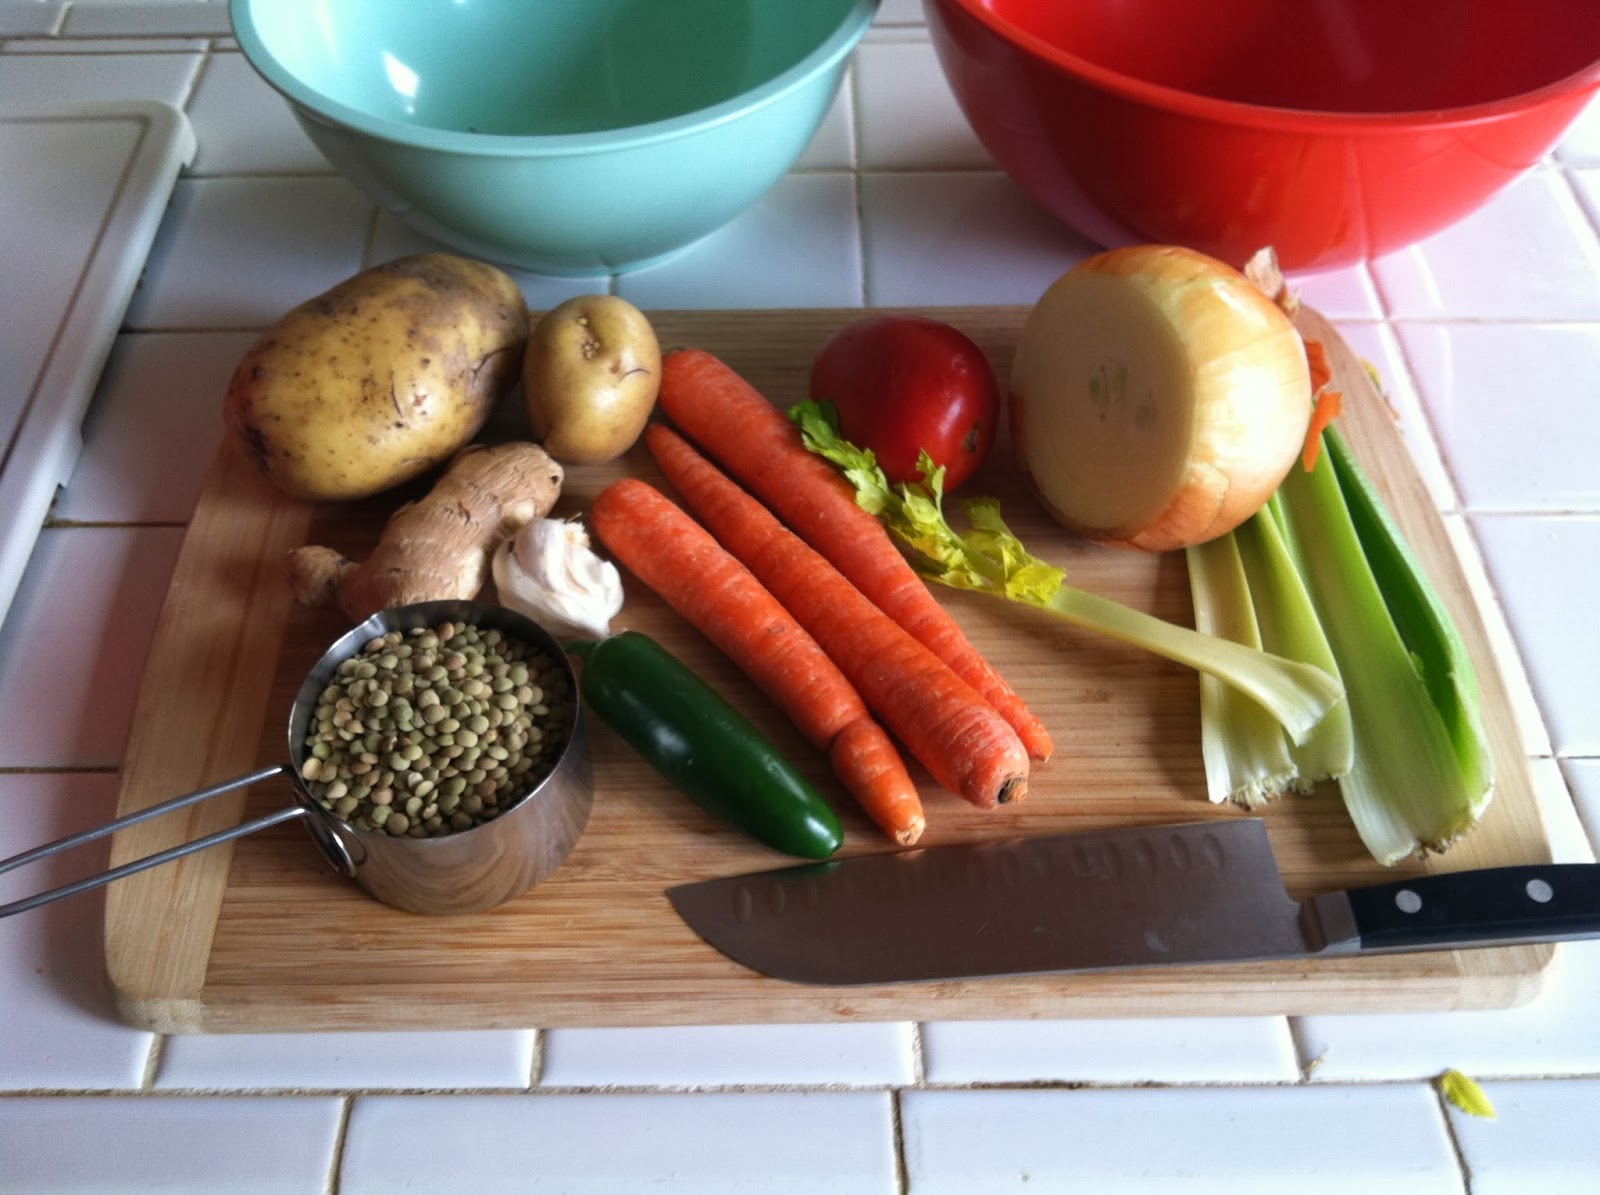
 The ingredients are so simple...

 - some veggies, lentils, and a bunch of spices.


 Ingredients:

1 cup lentils
1 jalapeno (if you like it spicy)
3 carrots chopped
5 garlic cloves finely minced
1 medium onion diced
3 or 4 stalks of celery chopped
2 medium potatoes chopped
1 tomato chopped
1 tablespoon of finely chopped ginger
6 cups of either chicken stock, veggie stock or water
3 tablespoons of olive oil

Spices:
1 tablespoon tumeric powder
1 tablespoon cumin powder
1 teaspoon garam masala
1 teaspoon cayenne pepper
1 teaspoon coriander
1 tablespoon oregano
salt and pepper to taste

There is a lot of veggie chopping involved but other than that this recipe is a snap to make...

How to make:

Chop onions, garlic and ginger first - they are the first things in the pot...


 Then chop all your veggies...

Peel your potatoes and chop them...


In a large sauce pan (I use my dutch oven), cook your onions, garlic, ginger (and jalapeno) in olive oil over medium heat for about 5 mins...


Then add the other veggie and cook them down for another 2 or 3 mins...


Then get your spices in there...

Leave the salt till the last 10 mins of cook time (salt can make beans tough so just leave it until the end)


Then add your lentils (make sure to rinse the lentils in a strainer before using them to get rid of any impurities)


Add water or stock and bring to a boil...


Turn down to a medium simmer and then let cook for 45 mins to an hour until everything is nice and soft.  Add the salt at the very end.

Sometime I throw some chopped cilantro on top in the bowls.  It looks pretty and adds a refreshing flavor.

I hope you enjoy!  This is a great way to get more veggies into your family diet, and the added health benefits of ginger and tumeric.  I feel so good after eating this!


Here is some additional information about why lentils are so good for your health...
(found here - http://www.whfoods.com/genpage.php?tname=nutrient&dbid=75)

Health Benefits of Lentils...

Lentils are a great source of fiber, and help lower cholesterol.  Lentils also provide good amounts of seven important minerals, our B-vitamins, and protein—all with virtually no fat. The calorie cost of all this nutrition? Just 230 calories for a whole cup of cooked lentils. This tiny nutritional giant fills you up—not out.

Good for your Heart

Lentils have significant amounts of folate and magnesium which are very important minerals for keeping your heart healthy.

Lentils also Give You Energy to Burn While Stabilizing Blood Sugar

Iron gives you Energy

In addition to providing slow burning complex carbohydrates, lentils can increase your energy by replenishing your iron stores. Particularly for menstruating women, who are more at risk for iron deficiency, boosting iron stores with lentils is a good idea—especially because, unlike red meat, another source of iron, lentils are not rich in fat and calories. Iron is an integral component of hemoglobin, which transports oxygen from the lungs to all body cells, and is also part of key enzyme systems for energy production and metabolism. And remember: If you're pregnant or lactating, your needs for iron increase. Growing children and adolescents also have increased needs for iron.

Monday, February 3, 2014

Decorating My Daughters Room


Confessions of a seriously obsessed mommy...


I honestly spent more time and energy putting together and decorating my daughters room than I spent on my wedding!


The pure excitement and anticipation of having a baby girl (my first child at 34 years old) really motivated me in decorating Sofia's room.  I think the combination of having a little girls room to decorate and wishing to put as much love and happiness in it as possible really inspired me to be creative.  Perhaps the whimsical nature of childhood allows you more opportunity for creativity and fun.


Let me just start by saying that I spent hours scouring www.Pinterest.com for ideas, and when I say hours, I mean HOURS!  I found quite a few ideas that I used for inspiration, and amazingly they did not turn out to be "Pinstrocities".  I started working on Sofia's room when I was about 6 month pregnant and am still making little tweaks here and there as she grows and changes.  Here's what I did...

1. Picking a Theme

I started with the idea of wanting the room to be a calming space with elements of whimsy and girlish charm.  Then I decided on a general "Garden" theme with lots of birds, flowers and woodland creatures.  From there it was easier to think about color and I decided on lavender and spring greens, with room for additional spring color accents (pink, orange, topaz blue etc).  I looked at several different wall color options and finally decided a soft lavender would be the best for a calming effect.  I am so happy with the color I picked - it is soft and soothing.

I also picked up some fantastically easy to use vinyl stickers to decorate the main wall.  I picked a tree with animals and flowers, and I think it looks adorable.  I'm also happy that I can easily change it later as she grows and her room changes.

2. Deciding on Furniture

After looking at a ton of websites that carry nursery furniture, from the Land of Nod, Pottery Barn Kids, Ikea to Target etc I decided that some simple white furniture and accessories would be the most inexpensive, feminine and contemporary option.  I found some awesome deals at Ikea (of course) like a changing table, the window seat, dresser, the hanging light and chair in the corner of the room.  I think the light was like $12. After we put all the furniture together I purchased a rug from RugsUSA.com (which was on sale and because we got a smaller size it ended being under $200).  I picked a couple of pricier items like the green curtains from Land of Nod to make sure I had the right colors, and I'm really happy that I did.  Overall, we did not need to spend too much on furniture and accessories for her room because I waited until things were on sale, and shopped around at multiple stores.  I also re-purposed items to fit the theme, like an old bed side dresser that I painted white and put some new hardware on. It matches everything perfectly (total cost for that like $30).

Dresser I painted and added new hardware - Jason jigsawed the front edges to make them rounded

3. Adding Personal Touches

Along with the new things we purchased especially for Sofi's room,  we also filled her room with vintage items from mine and my husbands childhood like baby blankets and stuffed animals, hand me downs from family members, hand made items from family and friends, beautiful gifts from family picked up on their travels, and re-purposed items.

One example of a hand made item is the SOFIA name banner I made out of scrap book paper, stencils, white paint and some twine.  Another great DIY how-to find on Pinterest!


I used cute artwork I have collected over the years, (including this Mary Blair print) and artwork from friends. I put them in white frames to match the furniture.

Our friend Jackie made this beautiful handmade artwork with Sofia's name and date of birth. She makes adorable handmade gifts - check our her blog too...Jacqueline Heckman 


4. Creating A Fun Space

I really wanted Sofia's room to be fun and have lots of places for toys and books, and room to play.  Without having the room feel cluttered or overwhelmed with toys I thought about how she would use the room, and how to store all the toys and books.

Here's what we did...
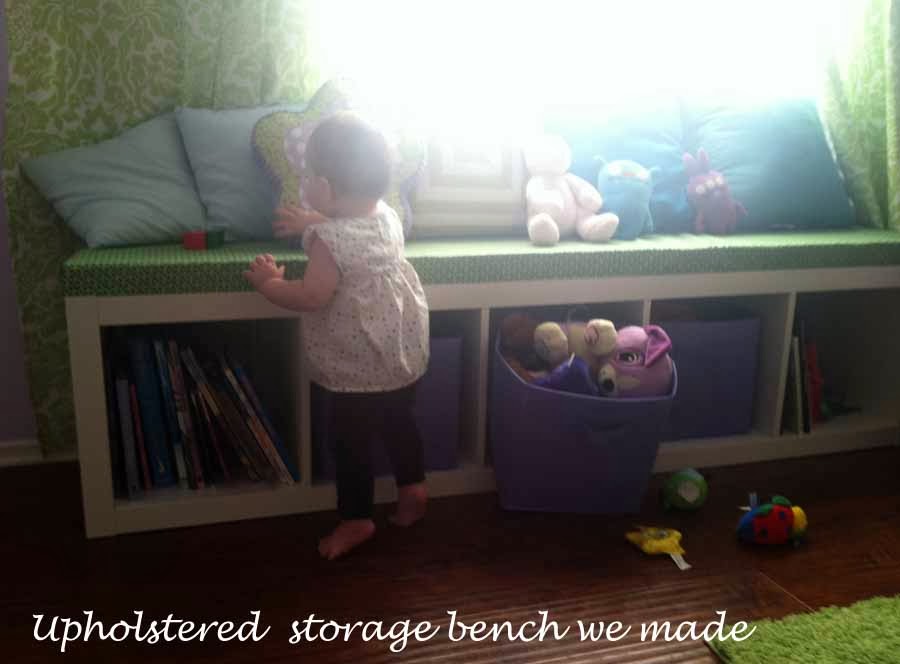
My husband and I picked up an inexpensive bookshelf from Ikea and turn it on it's side to create an upholstered window bench.  I found the idea on Pinterest and basically copied it.  I used some green fabric and some foam I picked up from Joanne's Fabric store and an MDF board from Home Depot. Cut everything to size, then stapled the fabric over the foam and board, and voila!   After adding some fabric bins for storage it became the perfect seat/ toy and book storage area.


I wanted to put some books out of her to reach and some on display but kept safe from toddler hands until she's older, so I ordered a spice rack and put the nice books face out on it.  

We also added a little glass display case to the wall to keep all the little delicate breakable items I have saved for her.


Lastly, per our wishlist, my brother and sister-in-law purchased a little green tent for Sofia that fits perfectly in the corner of her room. It is her own private play house and reading nook.


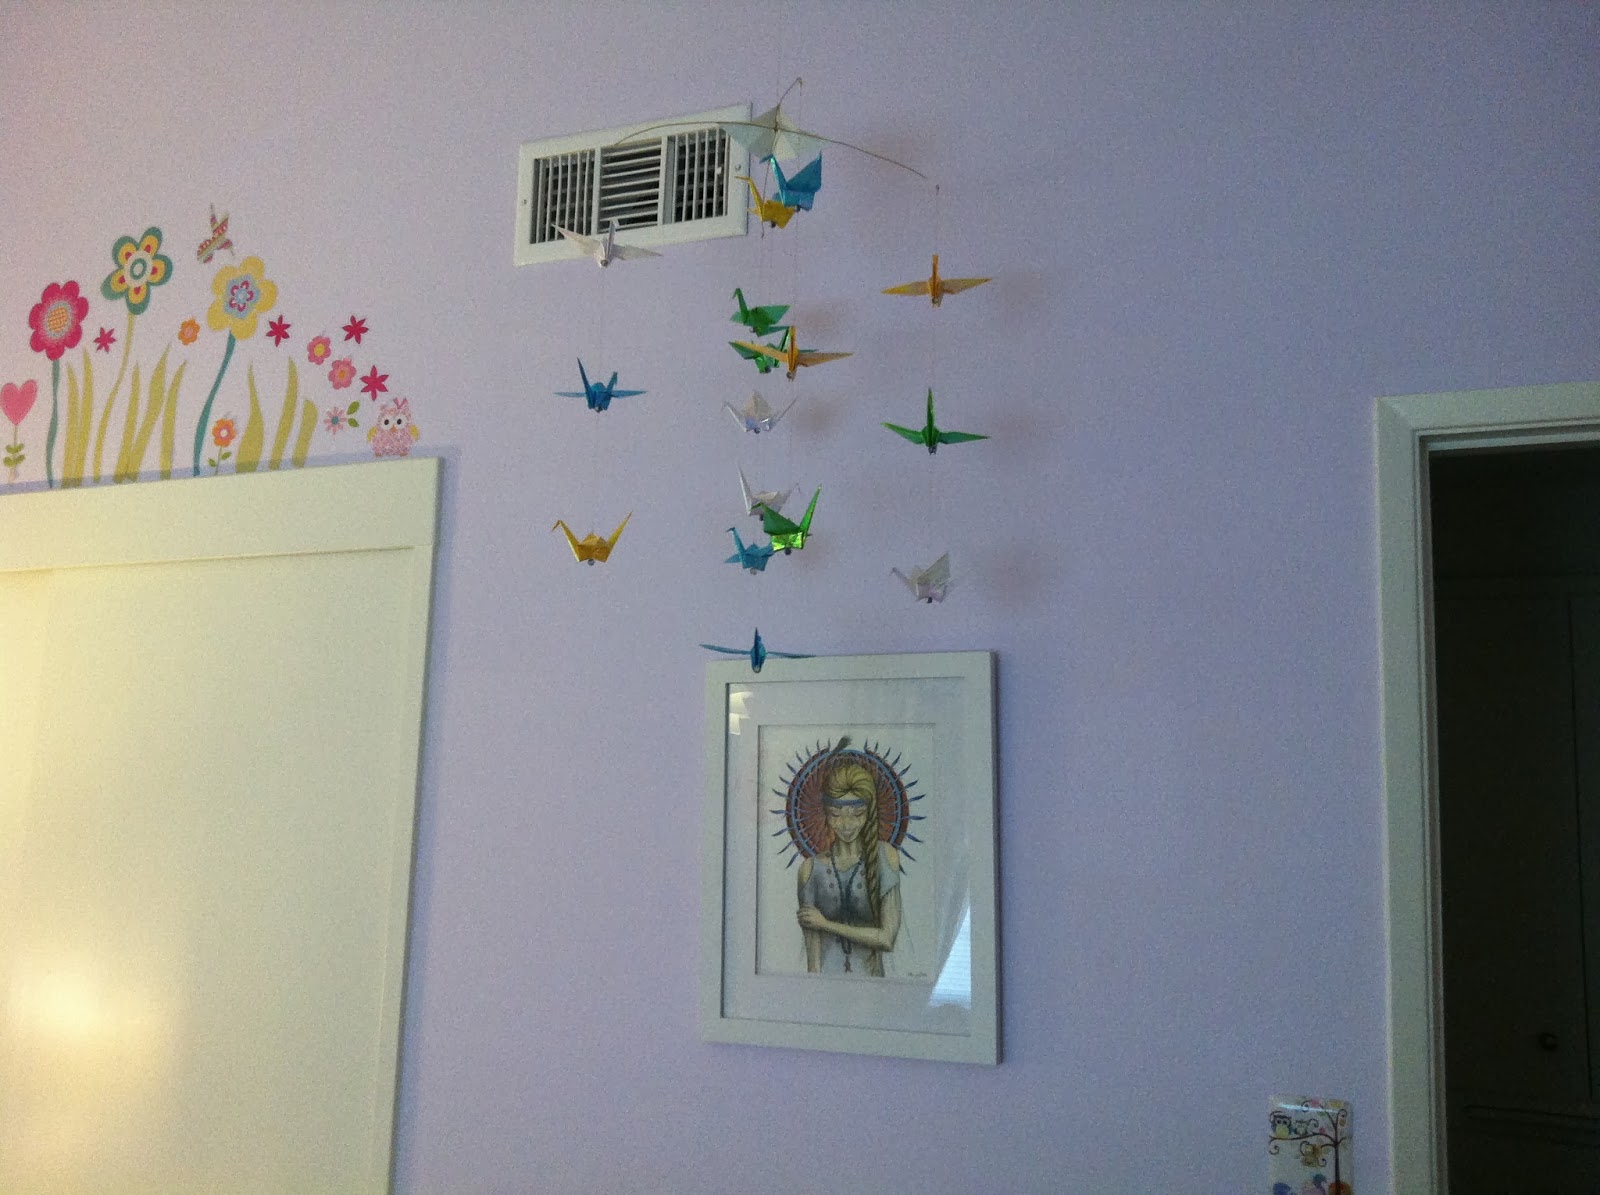
Kathy's mobile hangs over Sofi's changing table - it has done wonders to keep her entertained while changing diapers!


My only regret is that I wish we had just broken down and purchased one of those ridiculously expensive glider chairs for the corner instead of the Ikea chair (cute as it is, it is not that comfy), as I REALLY wished I had that when I was breast feeding.

The pillow is from 'Forrest Friends' - I got it at Comic Con when I was pregnant - BTW - never go to a large convention like that when you are 6 month pregnant!


Other than that I think everything turned out beautiful, and really functional for a child's needs.

A final note:  My husband was involved in every step of the way and we decided on everything together :)

Happy decorating!

Friday, January 24, 2014

My Favorite Recipe - Chicken and Sausage Gumbo

This recipe must be made with love in order to achieve maximum levels of deliciousness.

Although I live in California now, I was born and raised in Louisiana, and as they say, "You can take a southern girl out of the south, but you can never take the south out of a girl"...or something like that.

For me, the best way to stay connected with my Cajun Country roots is through food.  Nothing quite compares with some good ole' Cajun cookin'.  It fills up your belly and your soul with joy.  Louisianians are known for their deep passion for cooking, and puttin a whole lotta love into every dish.  I'm lucky enough to have learned some classic dishes from my granny and other family members which help me to stay inspired and connected with my unique culinary heritage.

Well, this recipe is a combination of my granny's gumbo, a recipe from Emeril Lagasse and a few of my own personal touches.  And Y'all - it is GOOD!  No matter how big of a pot I make - it always gets eaten.

Ingredients:
- 1 cup veggie oil and 1/4 cup of butter
- 1 cup all purpose flour
- 1 1/2 cups chopped onion
- 1 cup chopped celery
- 1 cup chopped bell pepper
- 1 pound smoked Andouille sausage sliced into rounds
- 1 1/2 pounds of boneless chicken (I use a mix of thighs and breasts) cut into 2 inch pieces
- 1 heaping tablespoon of minced garlic (about 2 or 3 large cloves)
- 6 cups chicken stock or water
- 2 cups rice
- (optional - 1 chopped jalapeno for extra kick)

Seasoning:
- 2 teaspoons salt (to taste)
- 1 teaspoon of sugar
- 1/4 teaspoon cayenne pepper
- 3 bay leaves
- 1 tablespoon of Slap Ya Mama seasoning (if you don't have this don't worry - just add some more cayenne pepper and maybe a dash of hot sauce like Tobasco)
- 1 teaspoon dried oregano
- 1 teaspoon dried thyme
- 1 teaspoon of cumin powder
- 1 teaspoon ground pepper
- chopped green onion for garnish and a dash of gumbo file powder to thicken the sauce

Directions:
I always start with prepping all my ingredients - get everything chopped and ready to go!  I cut up all the veggies and put them together in a bowl.  Add some salt, pepper, cayenne pepper and a dash of Slap Ya Mama to the chicken and let sit at room temp for about 15 mins in a glass dish.

In a large cast iron Dutch oven melt a dollop of butter over medium heat.  Then when the pan is nice and hot add sausage and cook for about 4 or 5 minutes until just brown on both sides.  Then remove the sausage with a slotted spoon and set aside.

Now to make the roux (the most important part) add the vegetable oil and flour to the pan, along with the remaining butter.  Stir frequently until the mixture is a deep chocolate brown color - should take about 20 mins to get it perfect.  This is where you stand there in your apron and stir the pot constantly - with a lot of love!  After you have put all your love into the roux and it looks like a dark brown gravy - now you add in all your veggies.  Cook the veggies down for about 10 mins until softened.  Add in the sugar and half the seasoning, except the salt. 

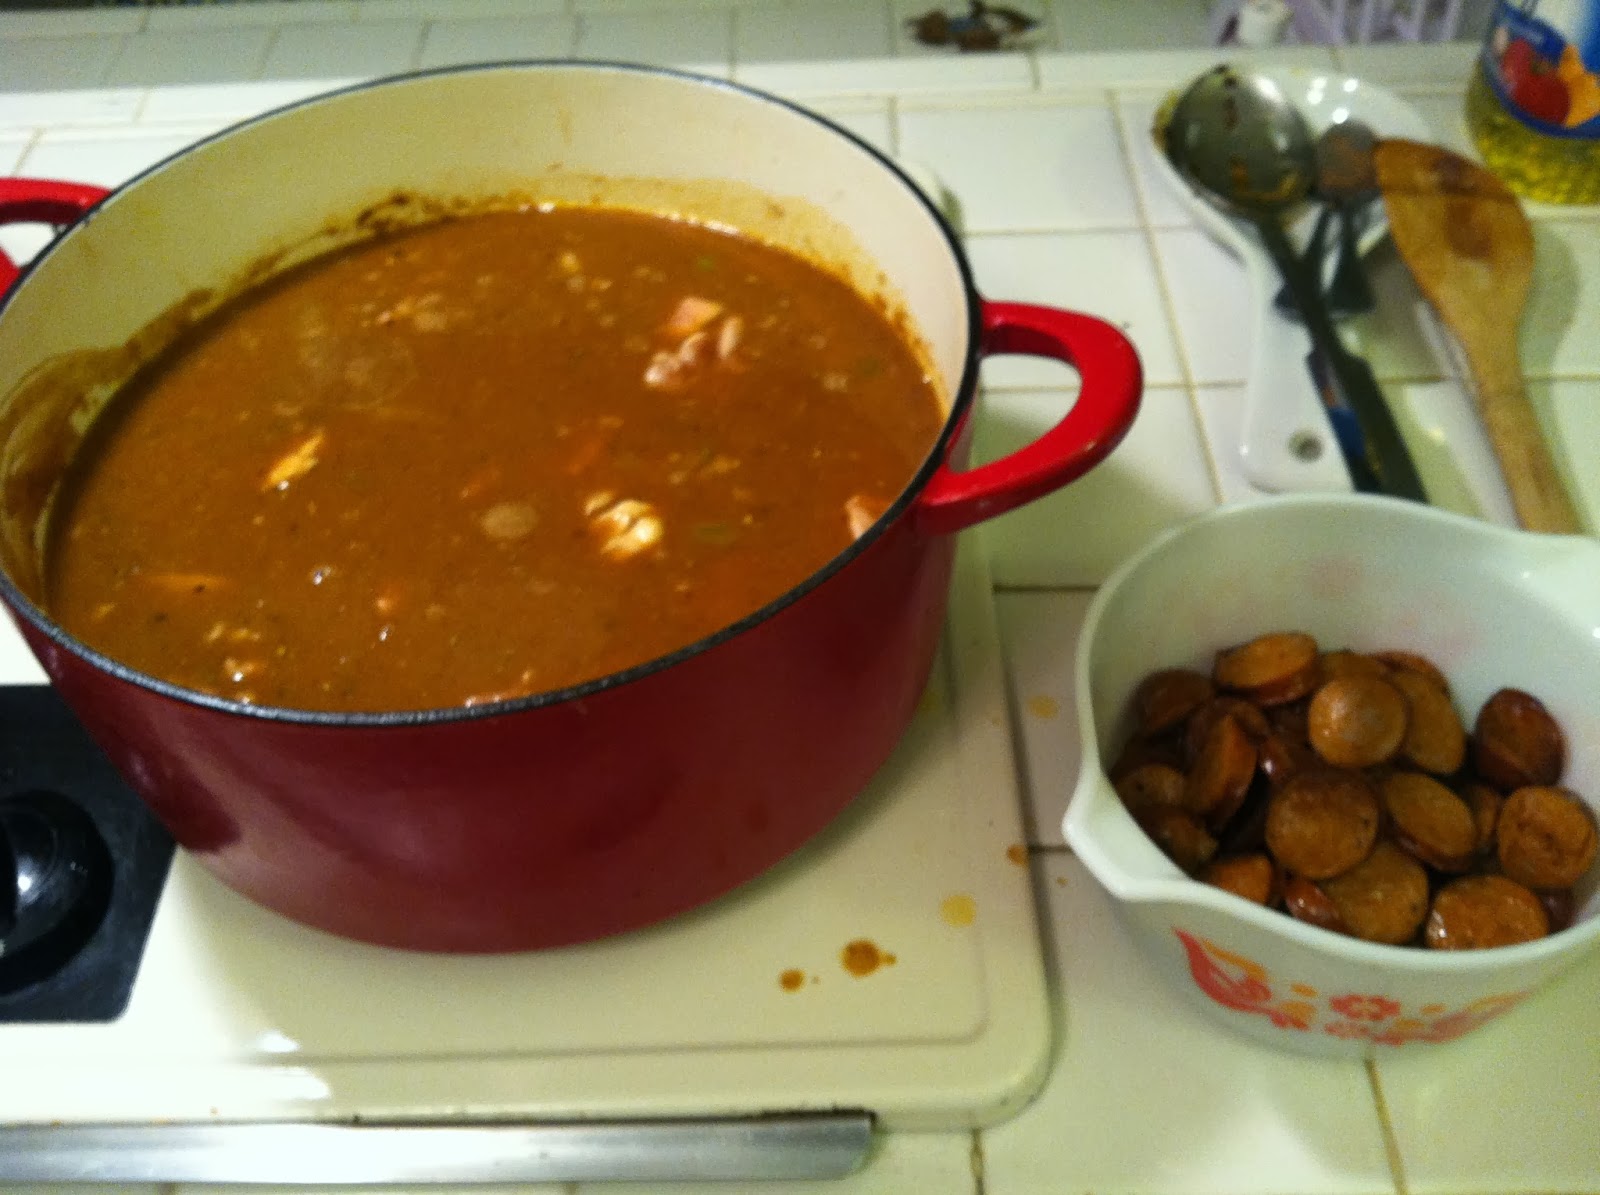
Once the veggies are cooked down, add in seasoned chicken and cook for about 2 mins.  Add in the rest of the seasoning.  Now add in chicken stock and make sure that the chicken is about 1 inch below the liquid.  Add some water if you need more liquid.  Bring to a boil then turn the heat to low and cook uncovered for about 45 mins to an hour, stirring occasionally.  In the last 15 mins of cook time, add in the cooked sausage, and a dash of file powder to thicken.  Then taste the gumbo and add salt to your liking.  At this point you may want to add a little extra 'love' in there too - and by that I mean cayenne pepper or hot sauce.  (Sometimes if I am feeling in an extra spicy mood I chop a jalapeno and throw it in with the veggies at the beginning).

Serve over rice with some yummy French bread and garnish with green onions.

Bon Appetit!  Enjoy Y'all!! 

Side note:  My husband doesn't like seafood (tragic!) so I make this version for my family - but if I have some seafood lovin' company over,  I scoop half of the cooked gumbo into another big pot and add in some peeled, de-veined shrimp and cook on medium heat for 10 mins until the shrimp are nice and pink.  Yummy!


 Your roux should look like this...